Much like an artist’s sketchbook, this sculpting armature was born out of my need for an easy way to practice sketching the human face or whatever kind of face I might have in my imagination. The head functions as the perfect support for sketching in oil clay.
If you are unfamiliar with “oil clay” it is an oil based sculpting medium that won’t dry. This means you can leave it out in your studio uncovered indefinitely. Oil clay is great for non-permanent sculpting practice.
There are a number of oil clay manufacturers such as Chavant Roma Plastilina Modeling Clay, Van Aken Plastalina Modeling Clay, and Monster Clay. I would recommend only using a sulfur free oil clay just in case you decide to make a mold of your work as sulfur is incompatible with silicone rubber compounds.
Here’s the pictorial and caption sequence of making the armature.
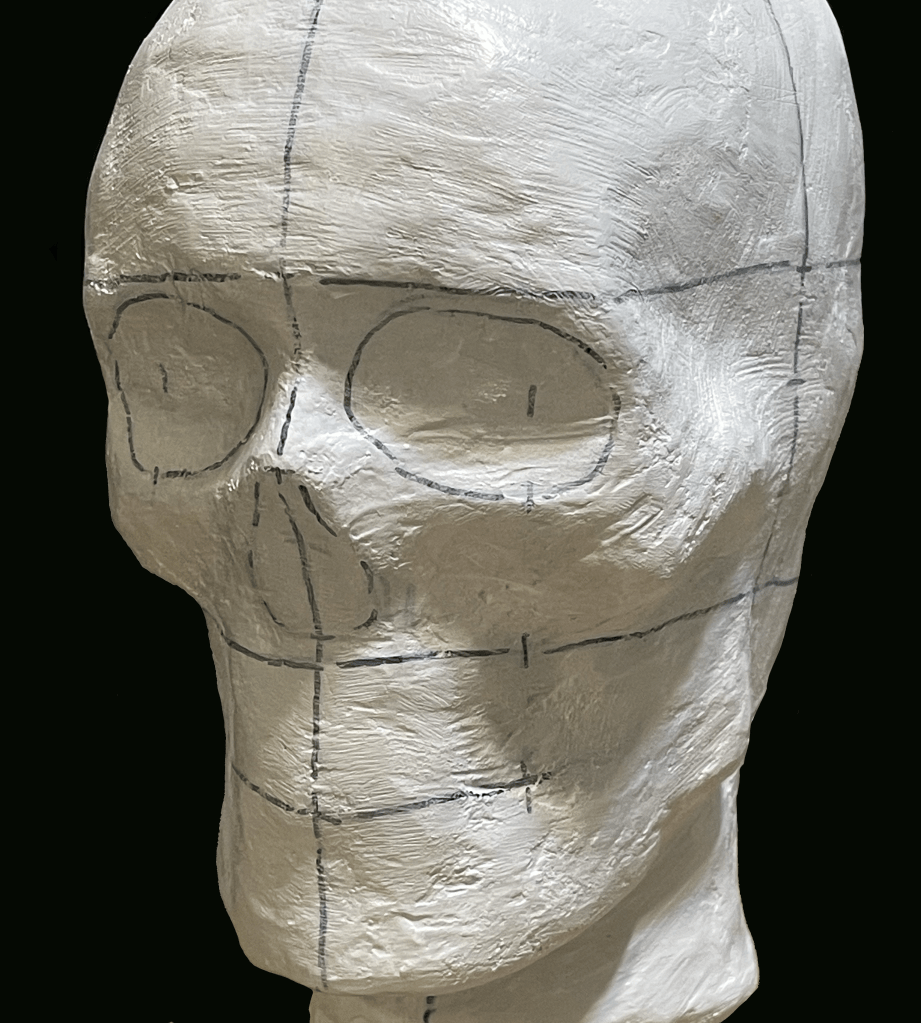
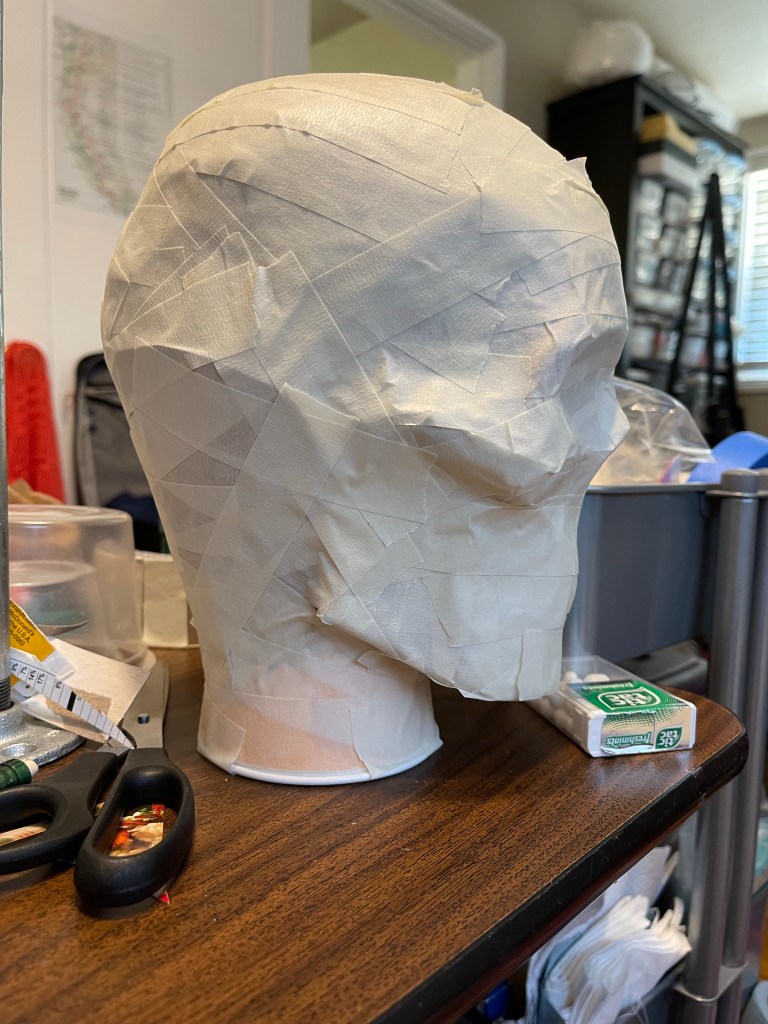
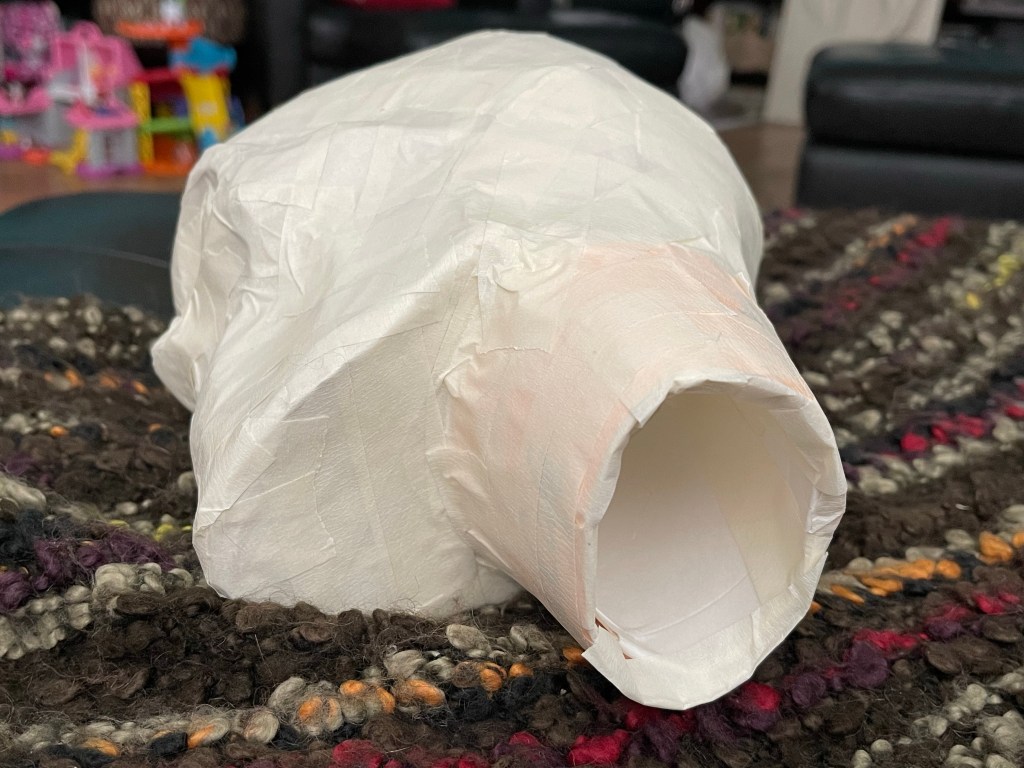
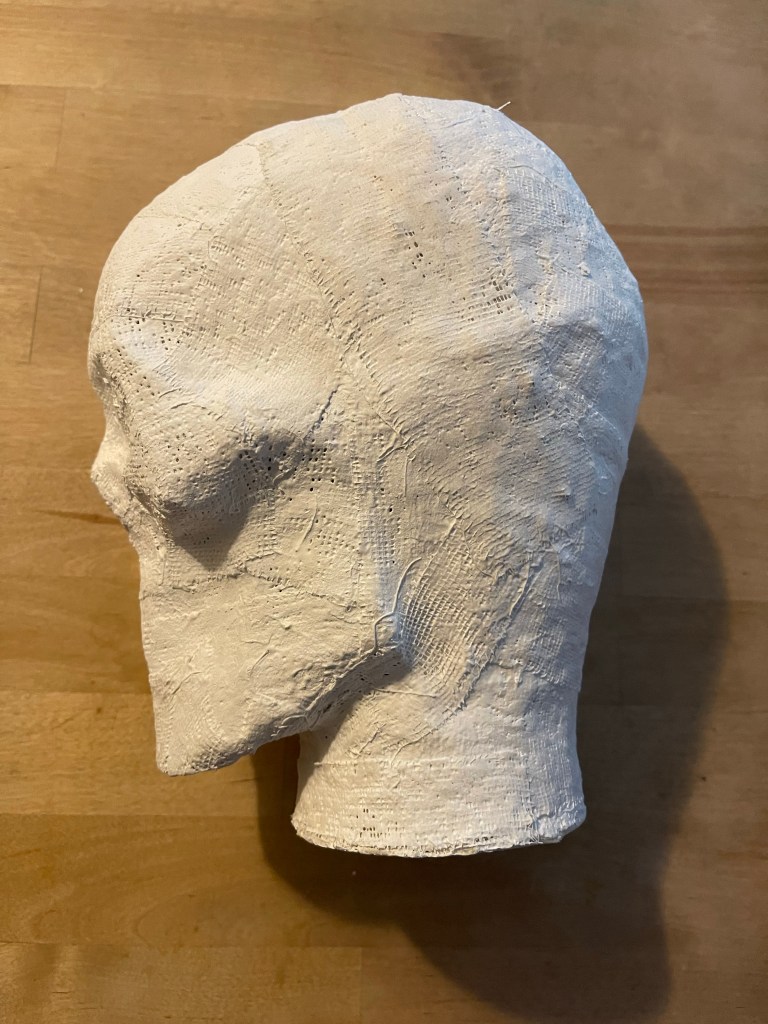
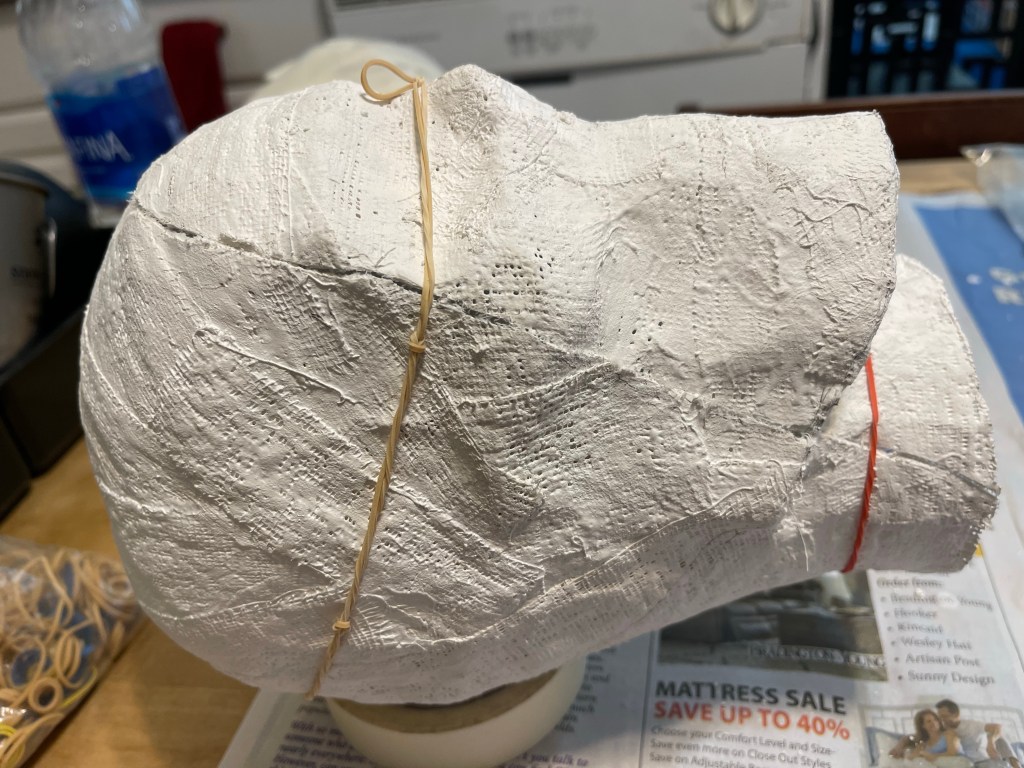
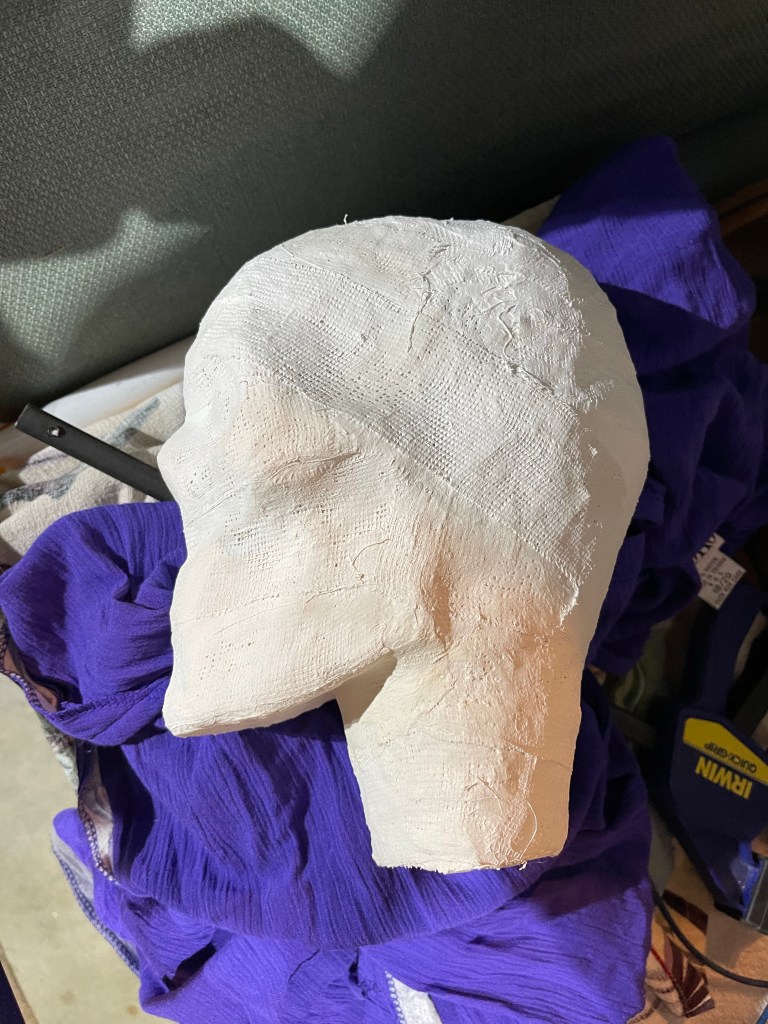
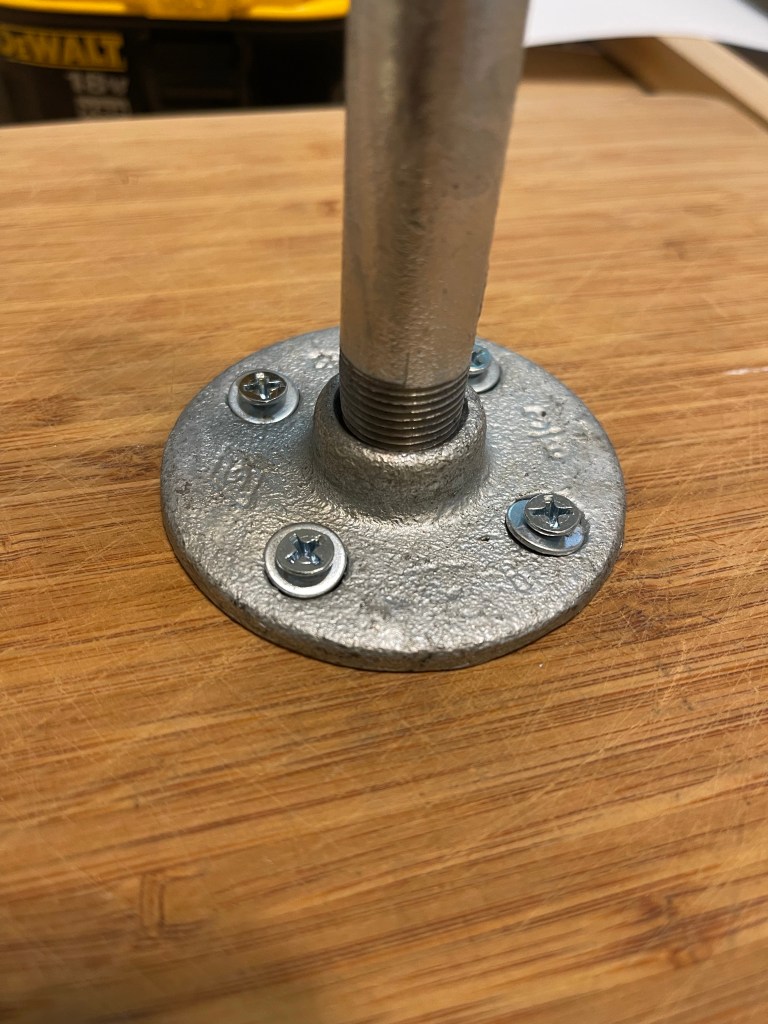
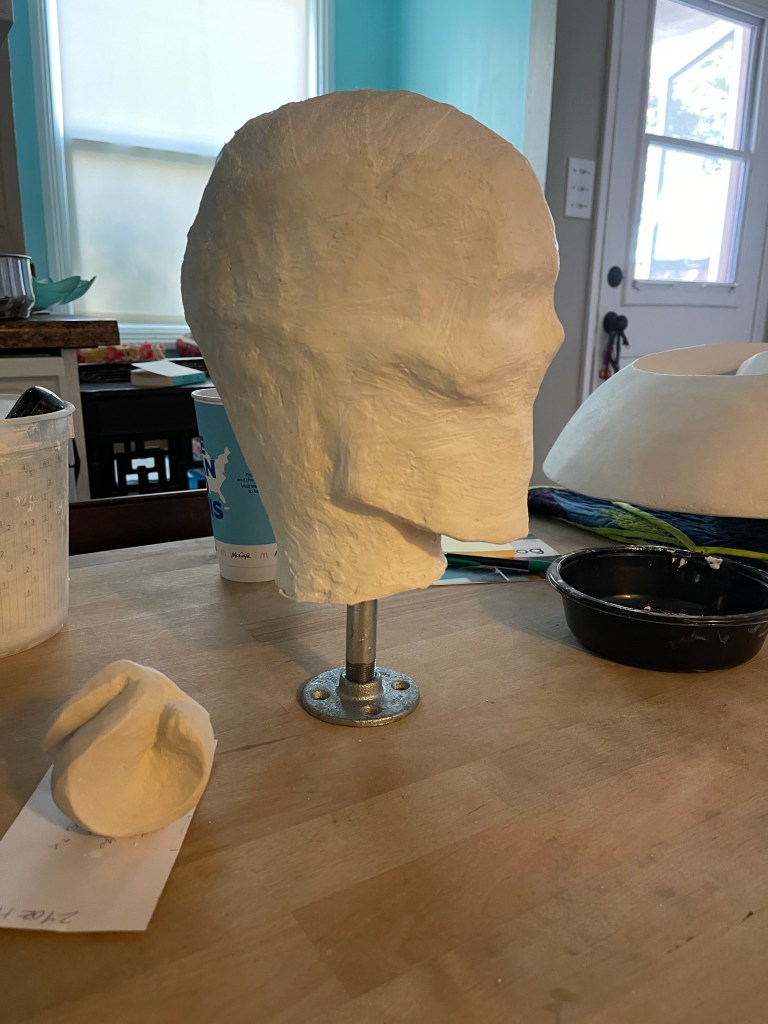
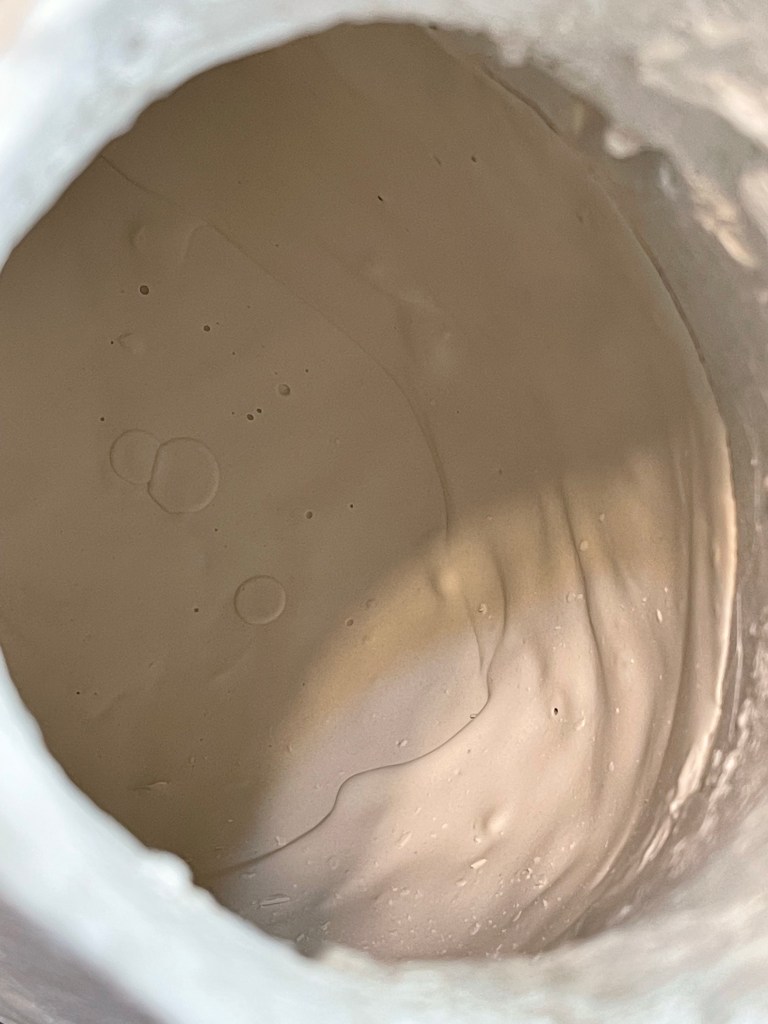
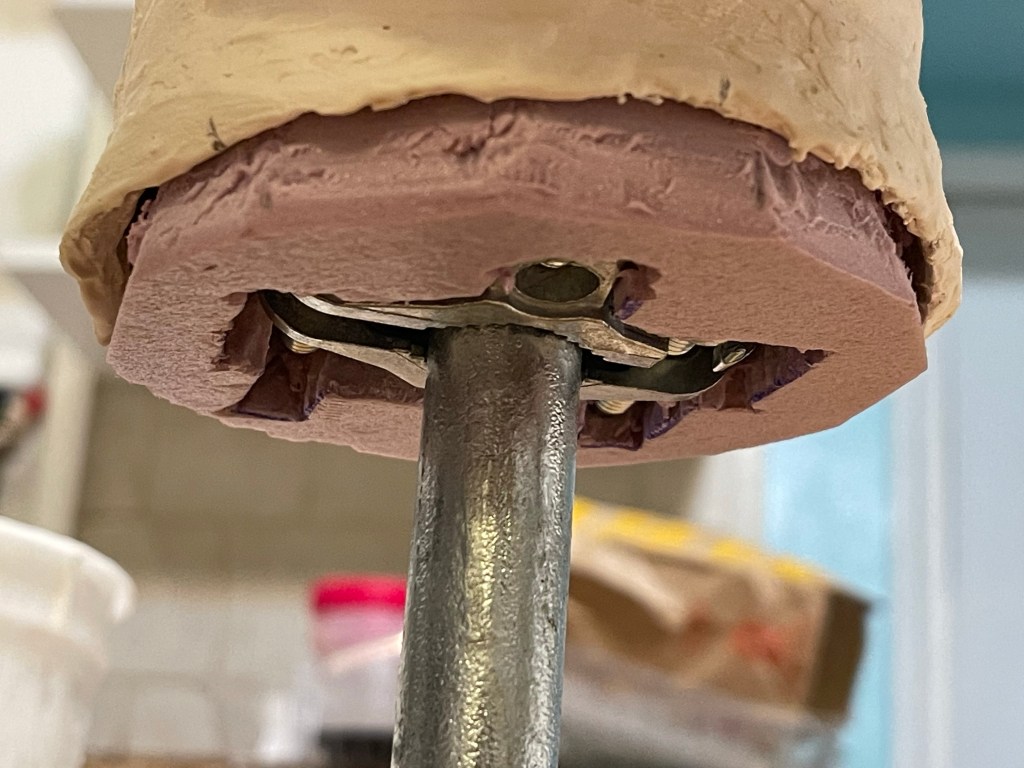
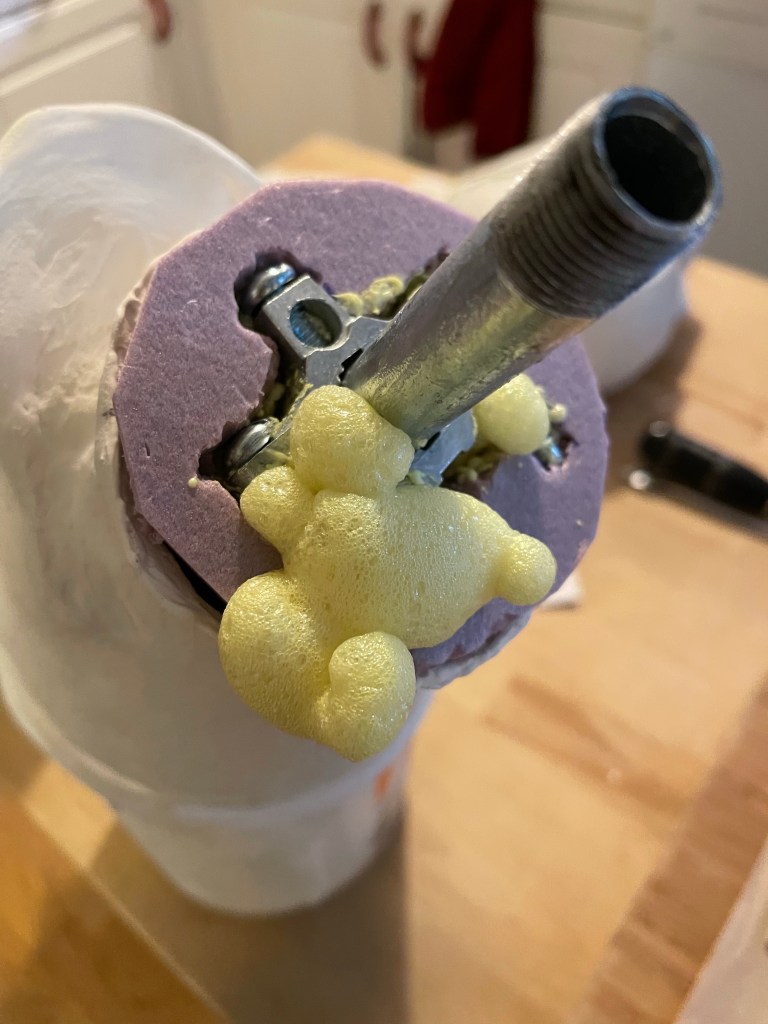
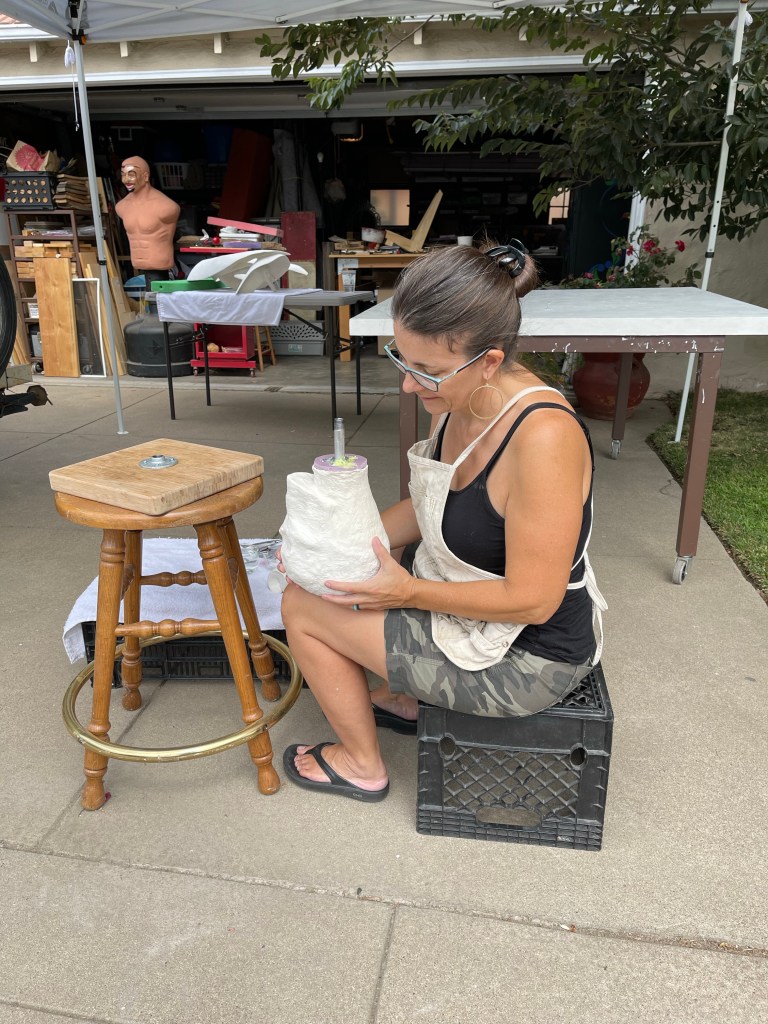
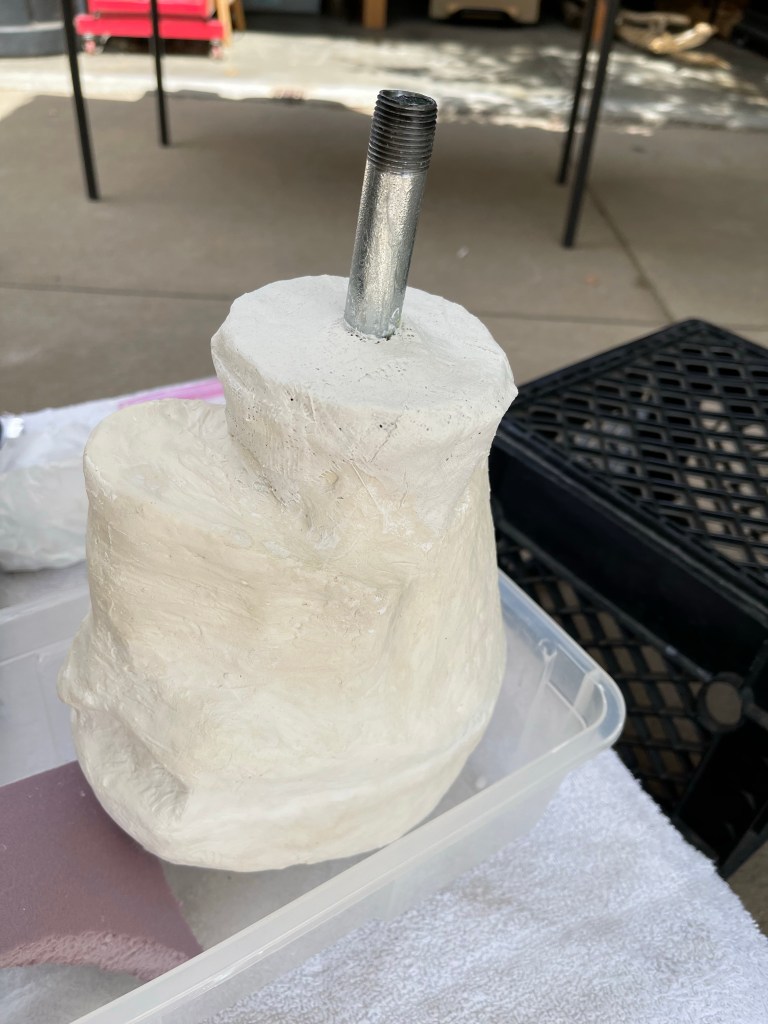
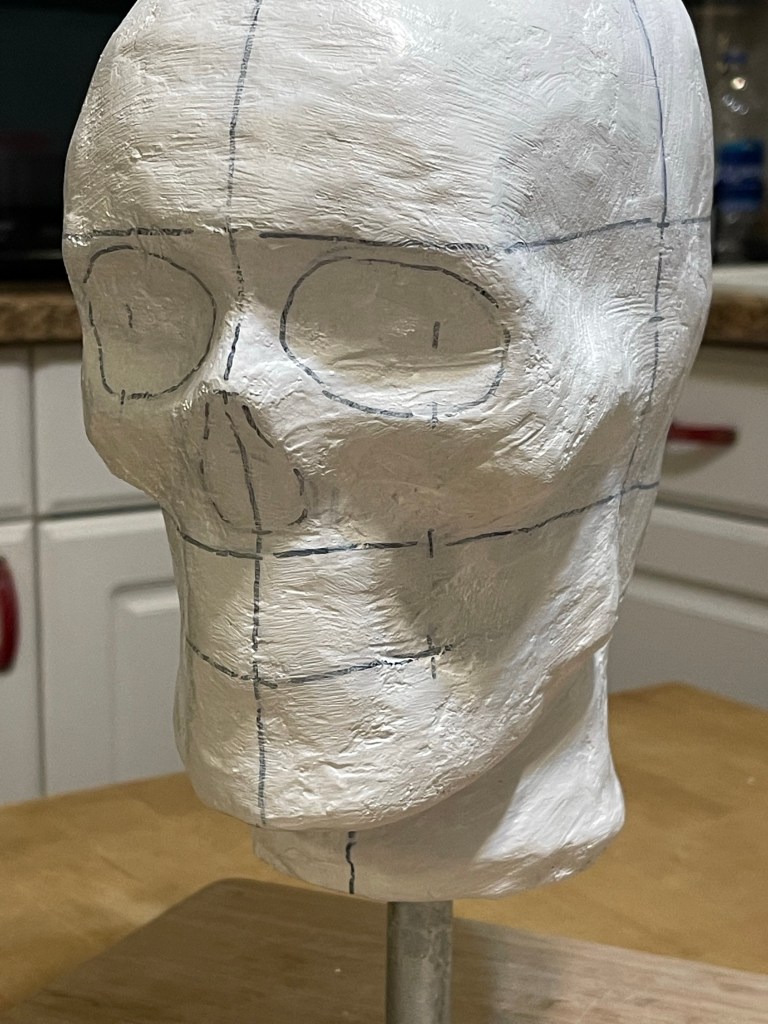
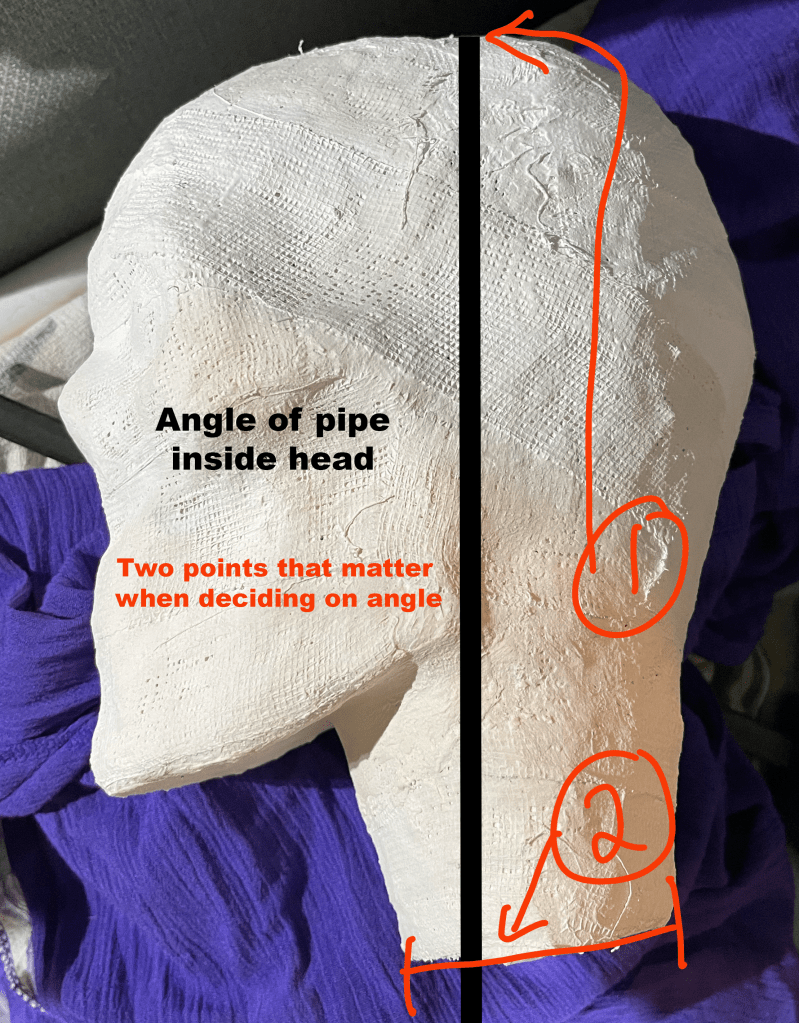
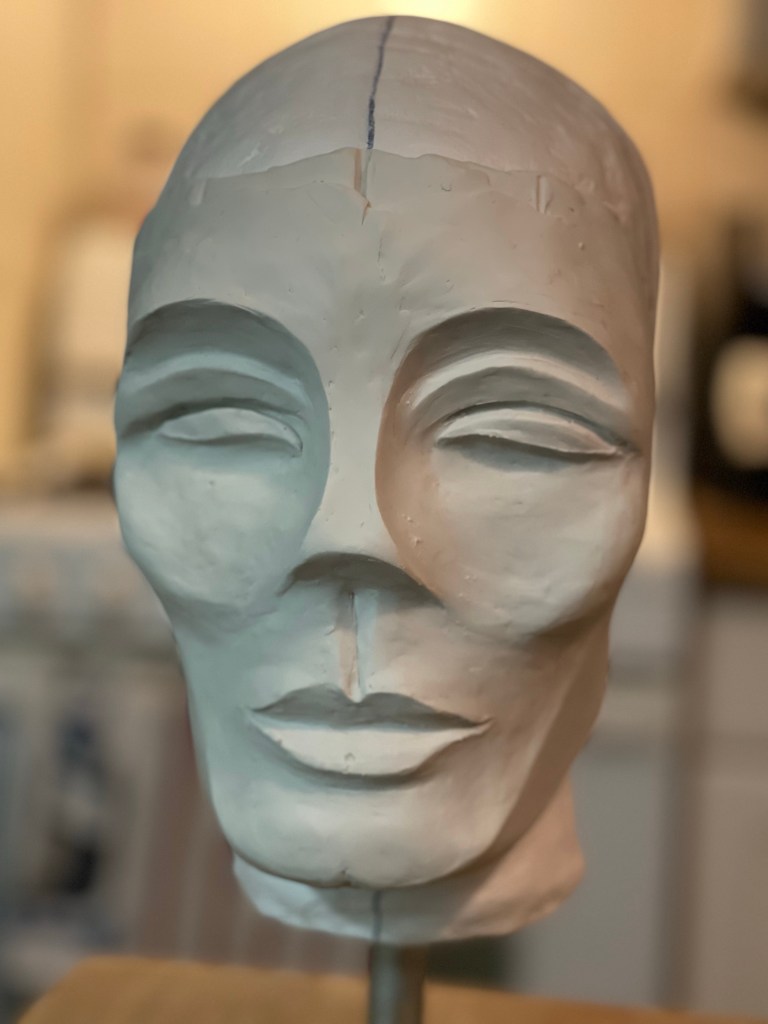
Cereal box paperboard, masking tape, paper, and a McDonald’s coffee cup (neck)It doesn’t need to be perfect – just cover the whole thing in masking tapeThen, cover it in two plus layers of plaster cloth / plaster bandagesOnce dry, cut the plaster cloth off the supportRubber band it all back togetherAdd another layer or two of plaster cloth to reconnect the piecesThe little strings that fray off the plaster bandages are just part of the materialScrew a conduit flange plate into heavy piece of wood, add the pipe, – check the tilt of the head to see what angle to secure the headCoat the outside of the head with plaster, let it dry and shape with files etcetera as you wish.Mix up more plaster and pour it inside your head. Rotate the head so the plaster coats the inner surface.The metal piece in the center of pink rigid insulation board isn’t necessary. You can cut a donut shape in whatever material you’d like to plug the neck around the pipe. This plug will help keep the pipe tilted at the angle that is right for you.Rig a way to hold the pipe at the correct angle while the expanding foam you spray into your head cures. The pink plug should be put in place after you spray the foam. I filled mine and left it overnight – this is how it looked in the morning.Cut off the excess foamCover the pink plug and neck with plaster cloth and shape as you wishI painted the plaster and added lines in permanent marker. The lines are optionalThis is possibly the most confusing part of the construction. These two points will determine the final angle of your head. If you have the angle too far forward or backward your face will not be straight up and down. You probably don’t want your chin tucked down and your forehead tilted downward.This was the first time using the form. It was just what I needed!
The goal here is to use what you have on hand to make the head. Things you might find in your recycling bin work well, like wadded up paper, cereal boxes and a paper cup. I used cheap dollar store masking tape to cover the base form that I then used to make the plaster cloth form.
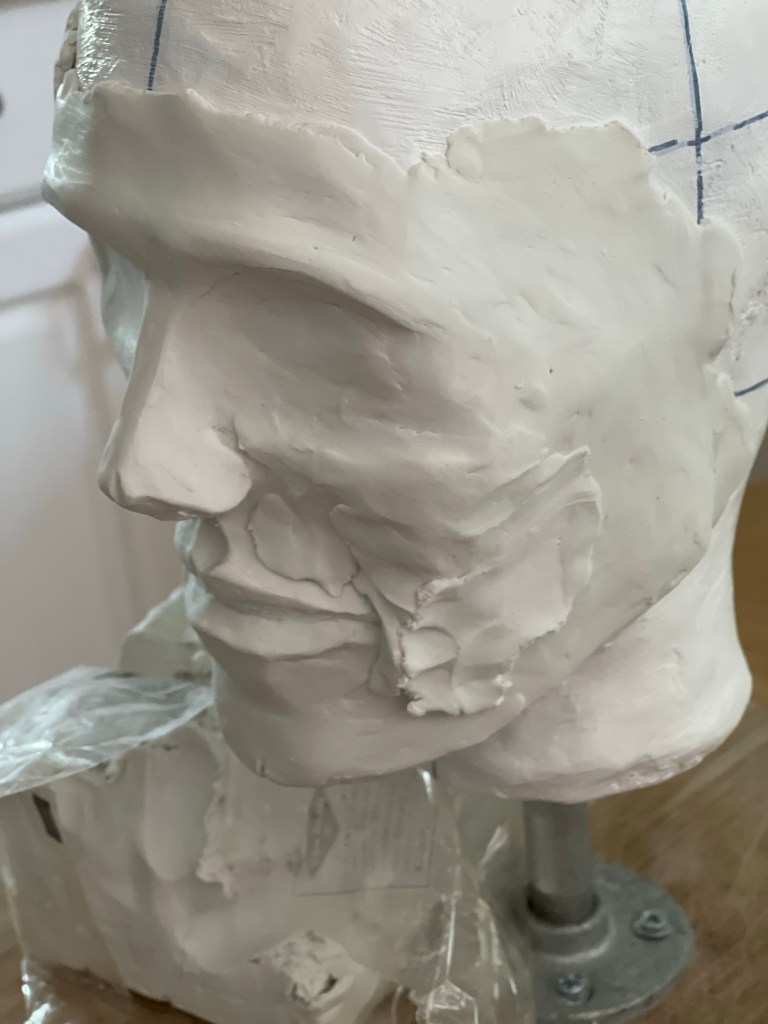
My jawline is a bit uneven and the form isn’t perfectly symmetrical – but I am alright with that as the oil clay covers those imperfections.
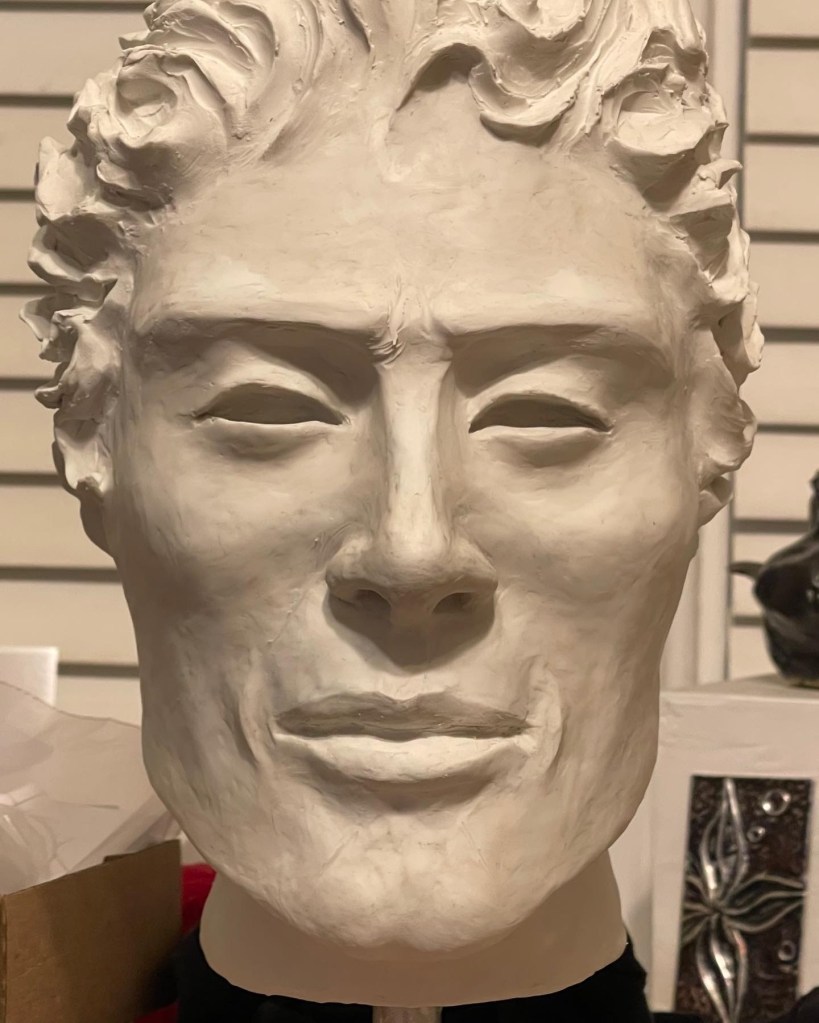
All kinds of faces are fun to sculpt“Roman” – see him in another post
Let me know if I missed explaining anything or if you have any questions/comments. Happy sculpting!